-
VMWARE ESXI 6.5U1离线补丁包升级教程
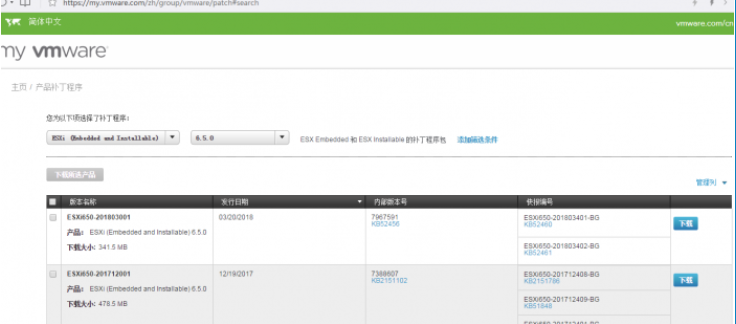
一、升级前的准备工作 去VMWARE官网下载补丁包,地址:http://www.vmware.com/patchmgr/download.portal(需要注册账号,请自行注册) 目前有两种补丁形式: 1、每月提供的补丁包,文件名为:“ESXi650-201710001”,下载后是zip格式的 2、累计更新补丁包,文件名为:“update-from-esxi6.5-6.5_update01”,下载后是zip格式的 补丁安装方式:按官方说法先装旧的补丁,再安装新的补丁包,补丁包并不是累积的产生;但是若是update(X)则不需要安装其之前旧的补丁,也就是说没有带update(X)的补丁包要一个一个按照版本升级的过程来打。 二、补丁安装过程 (本教程是ESXI 6.5.0.update01-5969303升级到6765664版本,所以应该下载ESXi650-201710001补丁升级包) 1、首先把下载的补丁包上传到ESXI数据盘中,这边的是[datastore1]/ESXi650-201710001.zip 2、关闭宿主机内的虚拟机(最好不要使用“挂起”模式),进入维护模式(不关闭虚拟机将无法进入主机维护模式) 如果虚拟机使用“挂起”模式,升级后虚拟机可能无法启动,只能重置启动,但无法保证虚拟机可以正常启动。 3、开启宿主机的SSH,“启用安全Shell(SSH)” 4、使用SSH工具Putty连接 输入宿主机ip地址,点击“打开” 跳出的安全警告,点击“是” 输入宿主机的账号和密码 进入到宿主机命令面板 输入升级命令: esxcli software vib install -d "/vmfs/volumes/datastore1/ESXi650-201710001.zip" 等待几分钟,到这个画面就表示升级已经完成,输入命令reboot重启即可。 重启完退出维护模式,启动虚拟机就可以了。
SE_Meng 2024-12-2312 0 0 -
VMware通过Vcenter升级Esxi
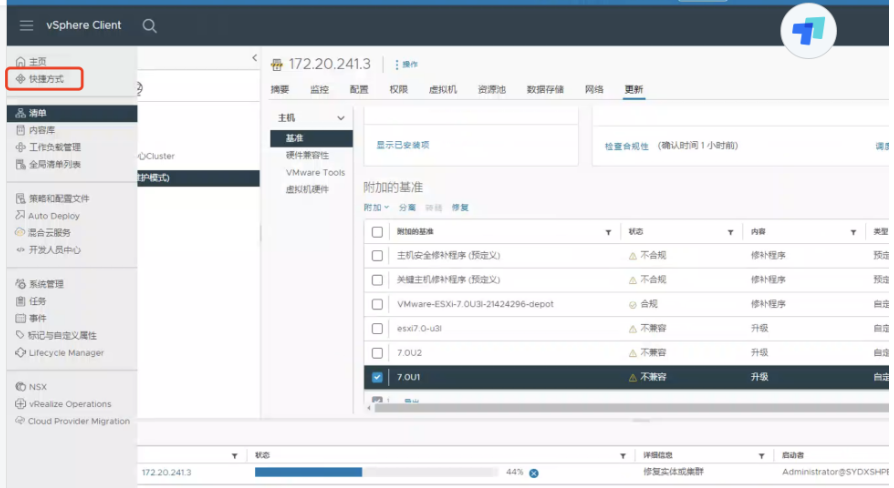
下面演示一种通过Vcenter升级esxi: 一、上传iso 二、主机更新 下一步就升级了。
SE_Meng 2024-12-2010 0 0 -
VMware 8.0 版本补丁更新
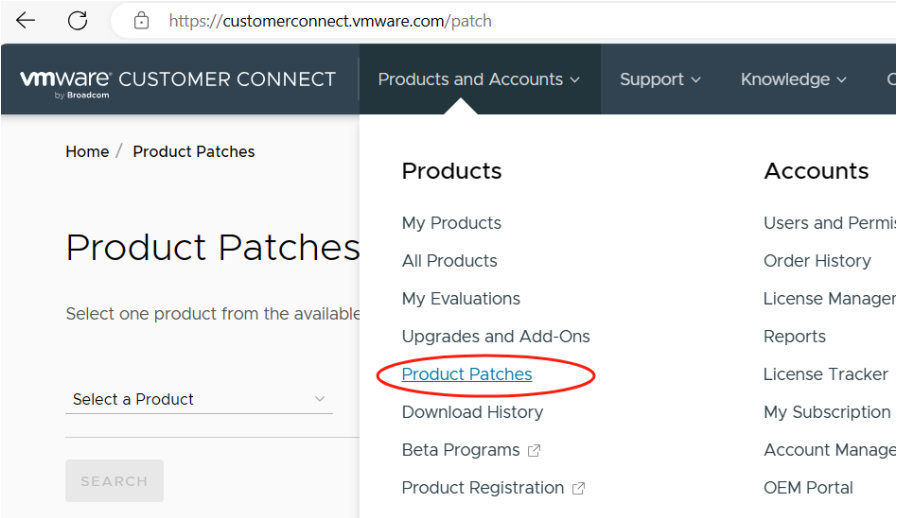
1、查看当前VMware vsphere 版本信息,使用putty登录控制台 vmware -v 使用命令查看到ESX主机的版本为VMware-ESXi-8.0U2-22380479 2、到vmware 官网下载新版本补丁。 官方网站补丁链接:Login | VMware Customer Connect 选择最新补丁版本(VMware-ESXi-8.0U2b-23305546) 3、上传刚下载的离线Zip文件至VMware主机的数据存储 4、将ESX主机上的虚拟机关机或迁移至其它主机 5、将ESX主机置于维护模式 esxcli system maintenanceMode set --enable true 6、确认ESX主机处于维护模式 esxcli system maintenanceMode get 7、使用Zip文件更新ESXi主机、使用esxcli命令方式升级esxi (1)到文件目录 cd /vmfs/volumes/5ff349b2-94247373-f4cc-801844f1fd18/ (2)赋予文件可执行权限 chmod a+x VMware-ESXi-8.0U2b-23305546-depot.zip (3)检查升级文件 esxcli software sources profile list --depot=/vmfs/volumes/5ff349b2-94247373-f4cc-801844f1fd18/VMware-ESXi-8.0U2b-23305546-depot.zip Name Vendor Acceptance Level Creation Time Modification Time ------------------------------ ------------ ---------------- ------------------- ----------------- ESXi-8.0U2sb-23305545-standard VMware, Inc. PartnerSupported 2024-02-29T00:00:00 2024-02-29T00:00:00 ESXi-8.0U2sb-23305545-no-tools VMware, Inc. PartnerSupported 2024-02-29T00:00:00 2024-02-14T06:50:08 ESXi-8.0U2b-23305546-standard VMware, Inc. PartnerSupported 2024-02-29T00:00:00 2024-02-29T00:00:00 ESXi-8.0U2b-23305546-no-tools VMware, Inc. PartnerSupported 2024-02-29T00:00:00 2024-02-14T08:21:05 (4)执行升级操作 esxcli software profile update --depot=/vmfs/volumes/5ff349b2-94247373-f4cc-801844f1fd18……
SE_Meng 2024-12-198 0 0 -
VMware ESXi版本和内部版本号历史记录
he following listings are a comprehensive collection of the flagship hypervisor product by VMware. All bold versions are downloadable releases. All patches have been named by their release names. Please note that the ESXi hypervisor is available since version 3.5. If you encounter any issues with this site or Builds are missing, please contact me. vSphere ESXi 6.7 vSphere ESXi 6.5 vSphere ESXi 6.0 vSphere ESXi 5.5 vSphere ESXi 5.1 vSphere ESXi 5.0 vSphere ESXi 4.1 vSphere ESXi 4.0 ESXi 3.5 VMware ESX History Diagram Download PDF Version JSON Format vSphere ESXi 6.7 Name Patch Date Build ESXi 6.7 Express Patch 10 ESXi670-201906002 2019-06-20 13981272 ESXi 6.7 Express Patch 9 ESXi670-201905001 2019-05-14 13644319 ESXi 6.7 Express Patch 8 ESXi670-201904001 2019-04-30 13473784 ESXi 6.7 Update 2 ESXi670-update2 2019-04-11 13006603 ESXi 6.7 Express Patch 7 ESXi670-201903001 2019-03-28 13004448 ESXi 6.7 Update 2 (Security Only) ESXi670-update2 2019-04-11 12986307 ESXi 6.7 Express Patch 6 ESXi670-201901001 2019-01-17 11675023 ESXi 6.7 Express Patch 5 ESXi670-201811001 2018-11-09 10764712 ESXi 6.7 Update 1 ESXi670-update1 2018-10-16 10302608 ESXi 6.7 Update 1 (Security only) ESXi670-update1 2018-10-16 10176879 ESXi 6.7 Express Patch 4 ESXi670-201810001 2018-10-02 10176752 ESXi 6.7 Express Patch 3 ESXi670-201808001 2018-08-14 9484548 ESXi 6.7 Express Patch 2a ESXi670-201807001 2018-07-26 9214924 ESXi 6.7 Express Patch 2 ESXi670-201806001 2018-06-2……
SE_Meng 2024-12-1842 0 0 -
Vsphere esxi主机通过Cli进行升级
1.下载Esxi软件 ps:选择产品。 ps:选择版本。 ps:根据授权选择产品。 ps:跳转至下载页面。 ps:通过cli安装需要使用这个zip包。 2.上传软件到共享存储 3.esxi主机开启ssh服务,并检查文件是否可用的Profile 通过ssh登录后,查看存储中上传到zip文件。 通过ssh登录后,查看存储中上传到zip文件。 ps: /vmfs/volumes为存储的位置 检查主机是否为维护模式。 vim-cmd /hostsvc/hostsummary | grep inMaintenanceModefalse为不在,true为在。 esxcli software sources profile list -d /vmfs/volumes/localstorage/ESXi670-202103001.zip ps: esxcli software sources profile list -d为固定的命令。 /vmfs/volumes/localstorage/ESXi670-202103001.zip为你上传的zip文件绝对路径。 红色框部分为你需要升级的包。 4.通过Profile进行升级。 esxcli software profile update --depot=/vmfs/volumes/MACRO-IT-LUN03-2T/ISO/VMware-ESXi-7.0U3l-21424296-depot.zip -p ESXi-7.0U3l-21424296-standard ps: esxcli software profile update --depot= 为你上传的文件,-p ESXi-7.0U3l-21424296-standard 为你文件中的包。 ps:回显如上,代表完成。5.重启 reboot 6.验证 登录Vcenter 查看即可。
SE_Meng 2024-12-177 0 0 -
SE_Meng 2024-12-167 0 0
-
ESXI主机常用命令
1.查看HBA卡固件 /usr/lib/vmware/vmkmgmt_keyval/vmkmgmt_keyval -a 2. vmware 版本 vmware -v 3.网卡信息查询 esxcfg-nics -l 4.网卡驱动版本查询 ethtool -i vmnicX 5.获取主机总线适配器当前使用得驱动程序类型 esxcfg-scsidevs -a 6.阵列卡驱动版本查询 vmkload_mod -s lsi_mrs | grep Version 7.disable网卡 esxcli network nic up -n vmknic1 esxcli network nic down -n vmknic1 8.存储路径查询 esxcli storage core paht list 9.查询vlan信息 esxcfg-vswith -l 10.查询WWN号 esxcli storage san iscsi list | grep UID esxcli storage san fc list |grep -E 'Node Name:|Port Name' 测试端口:nc -z 10.11.46.1 8000 端口:8000热迁移,宿主机之间互通 端口:902/903冷迁移,宿主机之间互通 端口:UDP/902/903 宿主机与vcenter server之间连接通信用。
SE_Meng 2024-12-1611 0 0 -
/storage/log partition full due to cloudvm-ram-size.log file rotation is not working in vCenter Server Appliance
Issue/Introduction Symptoms: In VCSA 6.0, the /storage/log/vmware/cloudvm/cloudvm-ram-size.log file size increases without log rotation. The available space in the /storage/log directory reduces gradually. Environment VMware vCenter Server Appliance 6.0.x Cause This issue occurs due to the absence of log rotation configuration for the cloudvm-ram-size.log file. Resolution This issue is fixed in vSphere 6.5. For previous vSphere versions, work around this issue by manually configuring log rotation for the cloudvm-ram-size.log file. To manually configure log rotation for the cloudvm-ram-size.log file: Log into the vCenter Server Appliance. Navigate to: /etc/logrotate.d To create the cloudvm_ram_size.log file, run this command: touch /etc/logrotate.d/cloudvm_ram_size.log Open the cloudvm_ram_size.log file created in step #3 using a text editor. Enter these entries: /storage/log/vmware/cloudvm/cloudvm-ram-size.log{ missingok notifempty compress size 20k monthly rotate 5 create 0660 root cis } Save the cloudvm_ram_size.log file. To enable log rotation for the cloudvm-ram-size.log file and all the other log files, run this command: logrotate -f /etc/logrotate.conf Notes: You may see some errors while running the logrotate command, which can be ignored. You can keep the latest cloudvm-ram-size.log-xxxxxxxxx-.bz2 file. It is recommended to do periodic cleanup of older .bz2 files in the /storage/log/vmware/cloudvm location.
SE_Gao 2024-11-2714 0 0 -
vCenter Failed to Start File System Check and Network Service
[Fixed] vCenter Failed to Start File System Check and Network Service Encountering issues such as "vCenter Failed to Start File System Check" and "vCenter Appliance Failed to Start Network Service" can disrupt this flow, potentially leading to downtime and operational setbacks. By Zelia / Updated on August 31, 2023 Share this: Table of Contents Causes of vCenter failed to start file system check Encountering the situation failed to start network service vCenter can be concerning, as it signals potential issues within the file system of your vCenter environment. This error message might appear during the startup process and can disrupt the normal operation of your virtualized infrastructure. Several underlying factors can trigger this error: Disk Corruption and File System Inconsistencies: A common cause of the "Failed to Start File System Check" error is disk corruption or inconsistencies within the file system. Unresolved disk issues can lead to a failed startup procedure as vCenter attempts to ensure data integrity. Unsuccessful Shutdown or System Crash: If vCenter was not shut down properly or if a system crash occurred during operation, it can result in file system errors that trigger the error message upon startup. Reasons for vCenter failed to start network service The "vCenter Failed to Start Network Service" error can disrupt the network connectivity and communication capabilities of your vCenter environment, impacting the management and operation of your……
SE_Gao 2024-11-088 0 0 -
vcenter failed to start file system check -1
After rebooting a Photon OS-based virtual appliance (vCenter Server Appliance for example), executing any commands on the shell (emergency mode) fails. Aria is down after power outage and it went to maintenance login The appliance fails to start and you see an error similar to - [FAILED] Failed to start File System Check on /dev/dis...uuid/XXXXX-XXX- See 'systemctl status systemd-fsck-root.service' for details. [DEPEND] Dependency failed for /sysroot. [DEPEND] Dependency failed for Initrd Root File System. [DEPEND] Dependency failed for Reload Configuration from the Real Root. Note: The preceding log excerpts are only examples. Date, time, and environmental variables may vary depending on your environment Environment VMware vCenter Server 8.0.x VMware vCenter Server 7.0.x VMware vCenter Server Appliance 6.7.x VMware vCenter Server Appliance 6.5.x VMware Identity Manager 3.3.x All VMware Aria Suite products VMware SDDC Manager 4.x VMware SDDC Manager 5.x VMware NSX-T Data Center 3.x (controller nodes only) Cause This issue occurs when a VM is forcefully halted as a result of storage failure, power failure, or software stack crash, causing file inconsistencies. Resolution To resolve this issue, scan and correct the filesystem by running fsck manually - Caution: Before proceeding, take a snapshot or backup of the affected virtual appliance. Reboot the virtual appliance, and immediately after the OS starts, press 'e' t……
SE_Gao 2024-11-0716 0 0