SpringBoot2.x(一)零基础快速入门
本章将介绍手工、自动创建springboot2.x体验快速便捷;spring2.x的maven依赖默认版本号。
环境依赖
- 这里使用的是
springboot2.x,对环境有着如下要求jdk1.8+maven3.2+
自动创建web应用
SpringBoot手工搭建web应用可参考 SpringBoot入门 ,本文在此基础上使用 spring initializer提供的对各类框架支持的应用骨架,借助于此我们可以省去引入依赖创建引导类等基本环境配置。
创建方式
spring initializer的创建方式有一下两种,一种是在官网选择指定的技术创建,另一种则是通过IDEA自带的集成
Generate Project
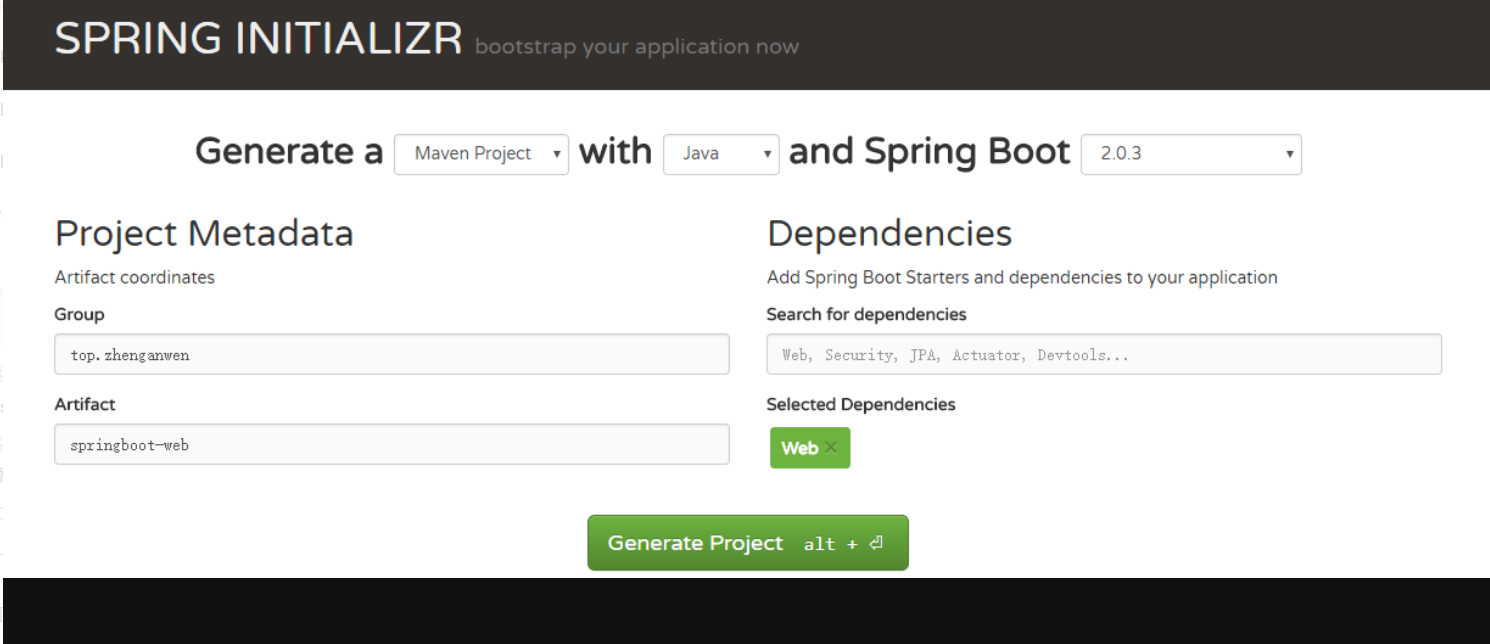
访问 https://start.spring.io/ ,输入 group id、artifact id和技术选型(如Web、Redis)点击 Generate Project 即可,下载下来的就是带技术选型的一个maven的springboot项目框架,你可以直接基于选型的技术进行编码。
如创建Web的 spring initializer:
将下载的压缩包加压后导入IDE中,等待依赖的引入。接着你只在 SpringbootWebApplication.java同一包或子包下写一个``controller`对外暴露接口:
package top.zhenganwen.springbootweb.controller;
import org.springframework.web.bind.annotation.RequestMapping;
import org.springframework.web.bind.annotation.RestController;
@RestController
public class HelloWorld {
@RequestMapping("/hello")
public String hello() {
return "Hello World";
}
}
访问 http://localhost:8080/hello 即可看到效果,是不是很快?
IDEA对spring intializer的支持
如果你使用的IDE是IDEA则更为简单,其提供了对 spring initializer的支持,你可以通过 new Project/Module,在弹出框的左侧菜单中选择 spring initializer
maven依赖的默认版本号
查看上一节中,spring initializer为我们生产的项目骨架的pom文件,你会发现其中的依赖并未定义版本号。
按住 ctrl键点击 pom 中的 spring-boot-starter-web会进入spring-boot-starter-web-2.0.3.RELEASE.pom,同样点击其中 parent中的 spring-boot-starters会进入spring-boot-starters-2.0.3.RELEASE.pom,在点击其中 parent中的 spring-boot-parent会进入spring-boot-parent-2.0.3.RELEASE.pom,再点击其中 parent中的 spring-boot-dependencies,你会发现在spring-boot-dependencies-2.0.3.RELEASE.pom定义了几乎所有依赖的版本号,这就是springboot2.x默认使用的依赖版本。
自定义依赖版本
根据maven的依赖管理,我们只需在引入 starter依赖时附加版本号就可以覆盖默认的版本号:
<dependency>
<groupId>org.springframework.boot</groupId>
<artifactId>spring-boot-starter-web</artifactId>
<!-- 将覆盖默认的版本号 -->
<version>2.1.0</version>
</dependency>